How to Install a Bath Waste Push Button?

Installing a Bath Waste Push Button can look like a simple bathroom repair, yet a small sealing error may cause a slow leak beneath the tub. This guide introduces the main stages of fitting or replacing a push-button bath waste, from checking the components to testing the finished connection. Designs vary. Some use a click-clack plug, while others connect the button to a cable or linkage. Identify your model before removing anything.

A typical kit includes a waste body, seals, a plug, and a button assembly. Compare these parts with the manufacturer’s instructions, and check that the waste fits your bath’s outlet and overflow. Keep a cloth and a shallow container nearby; residual water often remains in the pipe. If you are replacing an old unit, inspect the visible pipework for corrosion or damage. Stop if the connections are unfamiliar or difficult to reach.

The installation usually involves positioning the waste, seating its seals, tightening the connections, and checking the button’s movement. Tight is not always better. Excessive force can distort seals or damage fittings, so follow the supplied guidance rather than guessing. Once assembled, run water into the bath and watch the waste and overflow for drips. Then press the button several times and confirm that the plug opens and closes smoothly. A careful check matters. Even so, some baths have awkward access, and a persistent leak may need attention from a qualified plumber.
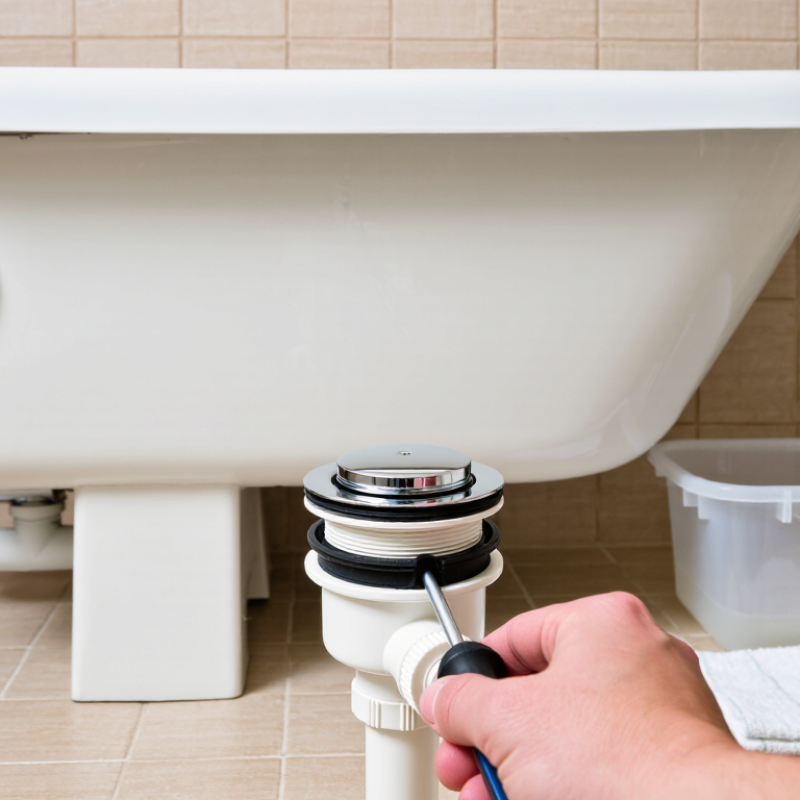
How to Install a Bath Waste Push Button?

Tools and Parts Needed to Install a Bath Waste Push Button

Before buying parts, identify how the existing bath waste opens. A push-button system may use a cable, linkage, or spring mechanism, and the replacement must match that setup. Measure the drain opening and note the overflow plate shape. Bring a photo of the old assembly when comparing parts; small differences can affect fit. For tools, prepare an adjustable wrench, a screwdriver, a soft cloth, a flashlight, and a shallow container for trapped water. A small tray helps. Keep it dry.

Typical parts include the push-button waste body, overflow plate, spindle or cable, sealing washers, and retaining nuts. Some kits include a new gasket; others require compatible parts purchased separately. Check that the gasket is flexible and undamaged, and compare the new pieces with the removed assembly before fitting them. A worn washer can cause a slow leak, even when the button works correctly. Avoid scratching the tub with metal tools; place a cloth between the wrench and finished surfaces. Follow the kit instructions for sealant, since applying it to the wrong joint may interfere with a washer seal. One detail is easy to miss: keep the small components arranged in removal order.

Prepare the Bath and Identify the Waste Mechanism

Before installing a bath waste push button, clear the tub and dry the drain and overflow area. Remove the existing plug carefully, then inspect its underside for a spring-loaded cartridge, worn seals, or mineral buildup. Look at the overflow plate too. A button built into the plug often works differently from a control connected to a cable behind the overflow. Press and release the mechanism gently. Notice whether it clicks, returns fully, and seals the opening. Don’t force it; a stiff part may be damaged.

Check the waste opening’s diameter, plug-thread arrangement, and whether the bath has an overflow. These details affect compatibility. A dry floor is not enough. Run a little water, then check beneath the tub or through an access panel for drips. The U.S. EPA WaterSense Fix a Leak Week guidance estimates household leaks can waste nearly 10,000 gallons of water annually. That figure covers household leaks generally, not bath wastes specifically, but it shows why a careful leak check matters. This step is easy to rush. Note the mechanism and measurements before buying replacement parts.

Prepare the bath area, inspect the drain and overflow, identify the stopper control, then gently test its movement. A button at the drain usually indicates a push-button waste; a lever at the overflow may operate a linked mechanism. The chart numbers show step order, not duration.

Remove the Existing Push Button and Inspect the Fitting

Remove the Existing Push Button and Inspect the Fitting

Place a cloth over the drain to catch small parts. Turn the push button counterclockwise by hand; many caps unscrew from the stopper body. If it resists, avoid levering against the tub surface. A plastic tool can help, but stop if the cap begins to deform. Some fittings use a small retaining screw, so check the button’s edge before applying force. Take a quick photo of each part as it comes off. It is easy to forget the order later.

With the button removed, inspect the spindle, threads, stopper, and drain opening under a bright light. Look for mineral scale, worn threads, cracks, and a flattened or brittle seal. Clean deposits with a soft brush and mild cleaner; don’t scrape the finish with metal.

EPA WaterSense estimates household leaks waste nearly 10,000 gallons of water each year, and notes that 10% of homes have leaks exceeding 90 gallons daily. That figure covers household leaks broadly, not bath buttons specifically, but it explains why a small seal deserves attention.

If the fitting is corroded or the threads are damaged, replacing only the button may not solve the problem. Check carefully. A clean-looking top can hide a tired gasket below.

Install and Adjust the New Push Button

With the new push button seated, check that its threads engage smoothly and the waste fitting sits squarely. Hand-tighten first; use a tool only if the fitting’s instructions call for one. Keep the seal clean and centered. A pinched gasket can let water seep beneath the tub, where it may be hard to spot. Match the linkage or cartridge to the original assembly, since push-button designs differ.

Press the button several times, then adjust the linkage in small increments until the plug closes firmly and rises freely. A quarter-turn can make a noticeable difference. This is the easy part to rush. If the button feels stiff, stop and check alignment rather than forcing it. Fill the tub just enough to cover the drain, release the plug, and inspect the access panel and nearby joints for moisture. The U.S. EPA’s WaterSense program reports that household leaks can waste nearly 10,000 gallons of water annually; that figure covers leaks broadly, not bath-stopper faults specifically. Still, a careful leak check is worthwhile.

If the plug sits unevenly, remove it and reseat the seal before making further adjustments. Test it again. A slight wobble may seem harmless, but it can prevent a consistent seal. Recheck after the first bath, when warm water may reveal a small drip that a quick cold-water test missed.

Test the Stopper and Check for Leaks

Press the push button several times before adding water. The stopper should move smoothly and sit level over the drain. If it catches, feels loose, or stays partly open, check the linkage and adjust it according to the fitting’s instructions. Small alignment errors can affect the seal.

Now fill the tub with a few inches of water. Press the button to close the stopper and watch the water level for several minutes. A slight drop may come from water clinging to the tub, so look closely before making adjustments. Then open the stopper and check that water drains steadily. It should not hesitate or leave a deep puddle around the drain.

Check for leaks while the tub drains. Wipe the drain rim and nearby floor dry, then place a clean tissue beneath the waste connection, if accessible. Even a small damp spot matters. Tighten a loose connection gently; overtightening can damage a seal. I once mistook condensation for a leak, so dry the area and test again before taking anything apart. If water continues to appear, stop using the tub until the connection is inspected.

Scroll to Top